How (and Why) I Make Grafana and Loki Tutorials for YouTube
You might have seen a few of my tutorial videos on Grafana and Grafana Loki. If not, check them out here. These videos are a bit of an experiment to showcase the awesome work being done by the Grafana OSS community and for me to understand the technology better. I got a lot of encouraging feedback on the videos, so I plan to continue making them. A few folks also wanted to know why and how I created them. Happy to share the details here with you, and I look forward to your Grafana videos :)
Learn by Doing, Learn by Teaching
One can attend conference talks, read books, and read blog posts for gaining knowledge. But for me, the information will stick by doing, and then explaining it to others. That takes a bit more time, but for me it’s the most effective way for good understanding. As I need to create and give product/technology demos anyway (it’s part of my role as Solutions Engineer at Grafana Labs – we are hiring!), why not record it and hopefully reach and help an even a bigger audience?
How the Sausage Gets Made
The sausage, or video, is made in about 4 steps, which take about half a day in total. First I create the demo environment that will be used for the screen recording. Then a lot of time is spent first on drafting and recording a good voice-over track. After the voice recording, it’s finally time to screen capture the actual demo. As a final step, video and audio are combined and lined up, and sound and video effects are added for clarification. The video is then ready for uploading to YouTube. That’s it on a high level. Let me get into a bit more details on the process and tooling for each step:
Coding the Demo Environment
The demo environment is based on a Docker Compose file. This setup includes all the needed components, data generation scripts, data sources, and dashboards for the demo. Docker makes it very easy to quickly iterate on the demo setup. It also doesn’t hurt that the Grafana software works very well with everything cloud native.
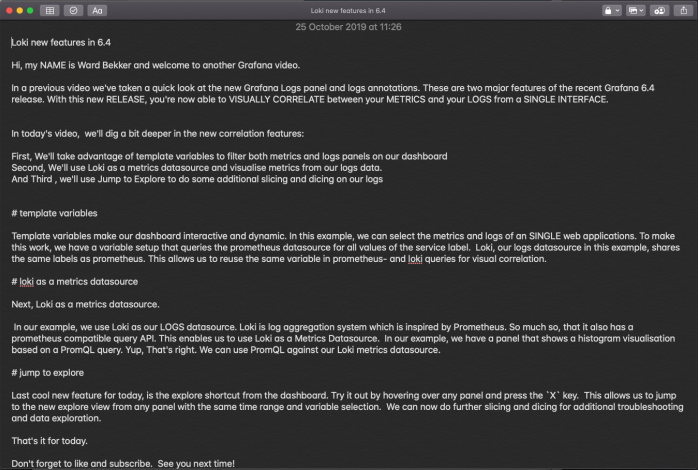
Drafting the Voice-Over Script

With the demo environment ready, I’ll walk through it as I would give a demo to a customer or prospect, which results in a rough outline of the final script. Next, I’ll flesh it out a bit more by adding more detail. I try to make it sound as conversational and approachable as possible. For that, I avoid difficult words and break up long sentences. We’re not writing a scientific paper here. Next, I’ll read the script out loud a few times, to make sure I don’t trip over words and it has a reasonable flow.
Recording the Voice Track

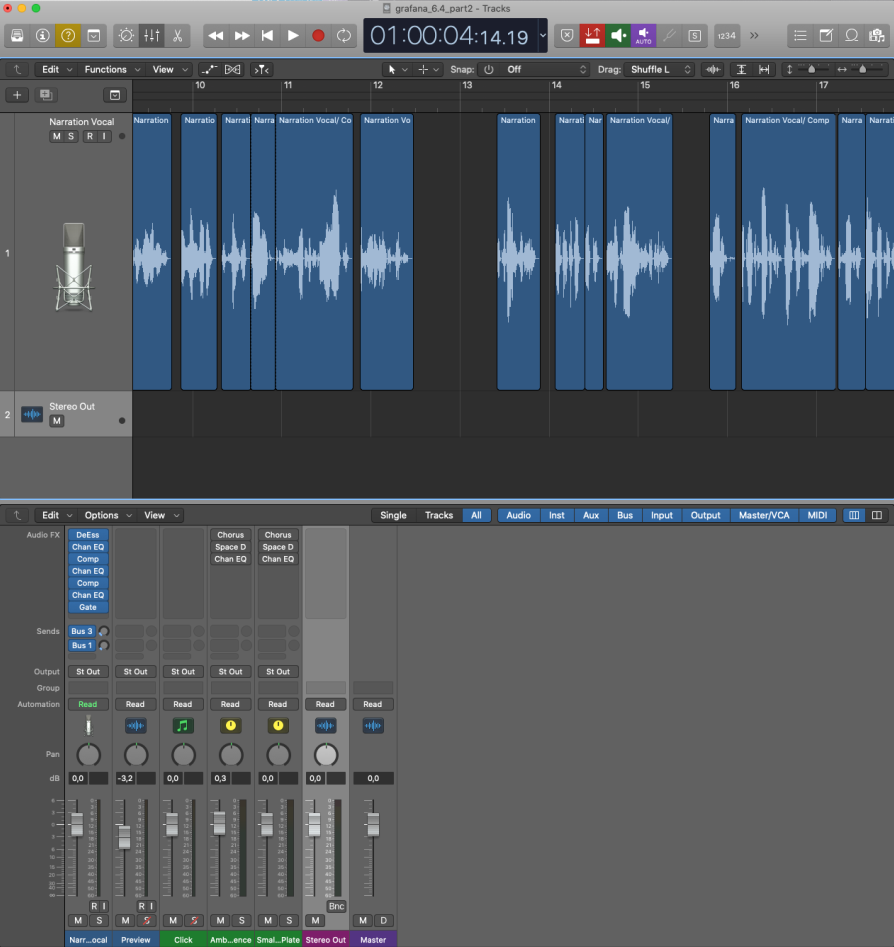
For the recording of the voice track, I use the popular Blue Yeti condenser microphone. To reduce echo and noises as much as possible, I place foam panels around my desk. The recording is done with Apple’s Logic Pro X recording software. It has all the knobs and buttons to make your voice sounds professional (even mine). You can also use free alternatives like Audacity or Garageband.
It takes about 20-30 minutes and multiple takes for a 5-minute voice track. To improve clarity on the track, I’ll add compression, adding a bit of bass and treble, and remove sounds like breathing and computer fans with a noise gate.
Creating the Screen Recording
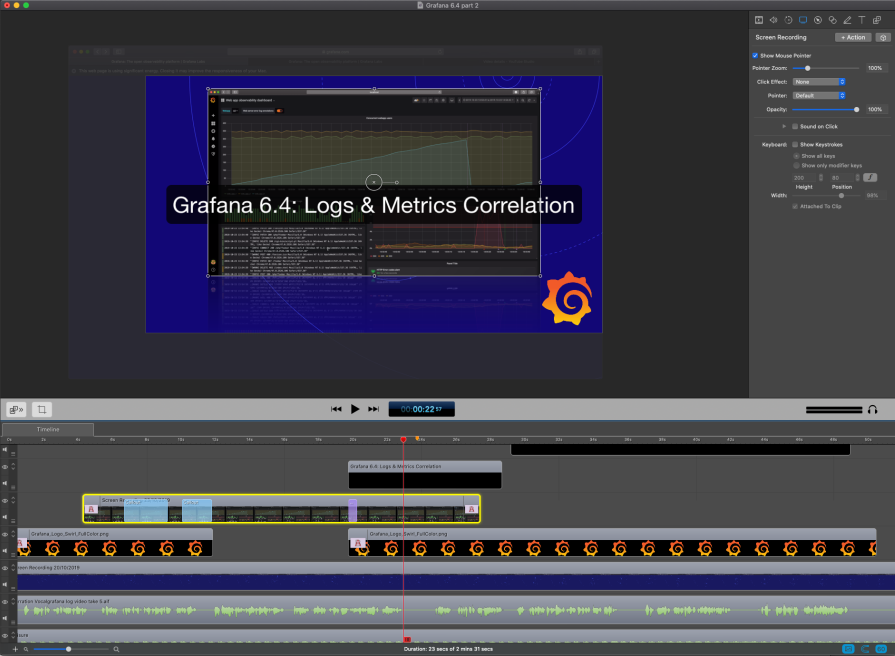
Based on the script, I’ll do a screen-recording of the demo using Telestream Screenflow. On OSX you can also use the free Quicktime software for that. I’ll let OSX render the screen elements on my 4k monitor as standard HD. This scale is more legible at smaller video sizes, like on mobile phones. The video is still 4K resolution, which keeps image quality high, even when zooming into parts of the screen.
Combining Voice and Screen Recordings

The last step is to combine the voice recording and screen recording so they line up. I use Screenflow for this, but I have also heard great things about Camtasia. Not everybody will be watching the video full screen on a 70" LCD, so I need to zoom into important parts of the screen for clarity.
To add some energy to the presentation, I add uptempo background music with some beats. I’ll enable audio ducking to the voice track: This reduces the volume of the background music so you can hear the voice track better.
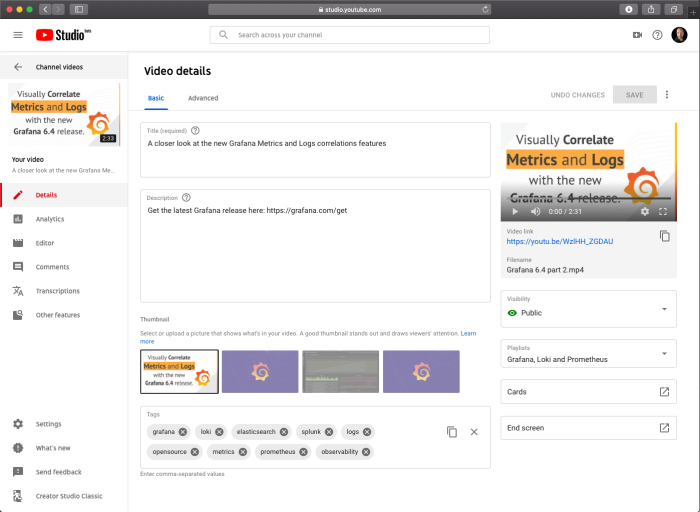
When I’m (reasonably) happy with the result, it’s time to export the video as MP4 and publish it to YouTube and all the social. Have a cookie, we’ve earned it!

Future Video Ideas
There is no shortage of ideas for future videos. Besides covering new releases from Grafana Labs and the community, I’d like to do a Grafana 101, covering the core concepts for new users of Grafana, and also a deeper dive on specialized topics, like setting up Grafana for Oauth with Azure AD.
I would like to improve production quality with each video. Though I need to be careful. This is a very deep rabbit hole which can result in a lot of time spent, so one needs to take small steps here; I’m thinking of better motion graphics and higher resolution. And I want to make the video more personal, like putting myself in the video instead of only a voice-over (scary!).
Do you have a Grafana topic that really could use a video? Or have feedback on how I can even make better videos? Love to hear from you! Drop me a line at ward@grafana.com.


